Wildlife Gardening Monthly
Welcome to your free, monthly guide to helping wildlife in your garden.
Thanks to funding from The National Lottery Community Fund, we’ll be sharing a new guide every month for the next year, with simple, seasonal advice to help you feel confident taking action for wildlife wherever you live. Check out the video below, read the post or download the PDF to read later and keep forever.
Want each new guide sent straight to your inbox? Sign up to our newsletter and follow along with us throughout the year.
As the day length draws in rapidly, it can start to feel a teeny bit pressured when it comes to spending time in the garden. But when you remember that nature is also slowing down, and that doing less means that you’re leaving more shelter for the creatures that want to call your garden home over winter, it takes that pressure off a little.
In November, unless you’re in the far north and/or already experiencing frosts, or even snow, November can still be a great time for getting more plants in the ground. At this time of the year, bare root plants start to become available. This includes one of the most important groups of plants for any space; trees. We talk you through all the steps of choosing the perfect tree (or trees!) for your garden.

You can also keep propagating by taking hard wood cuttings of various woody plants, or splitting your herbaceous perennials; it really couldn’t be easier to make new plants, for gifts, or for yourself of course.
As the bare bones of deciduous plants start to become exposed, keep dressing up the garden as much as you can, by leaving stems, mulching your soil and ensuring there are plenty of hiding places for creatures. Without further ado; read on for everything else that you need to know about gardening for wildlife in November!
Planting
To most people, the season to plant is when all the tempting, plastic-potted jewels of flowers are in stock in the garden centre. Over time, we have come to associate plant purchasing with mooching around a sunny warm nursery, and maybe diving into the cafe for a hot drink and a cheeky slice of cake.
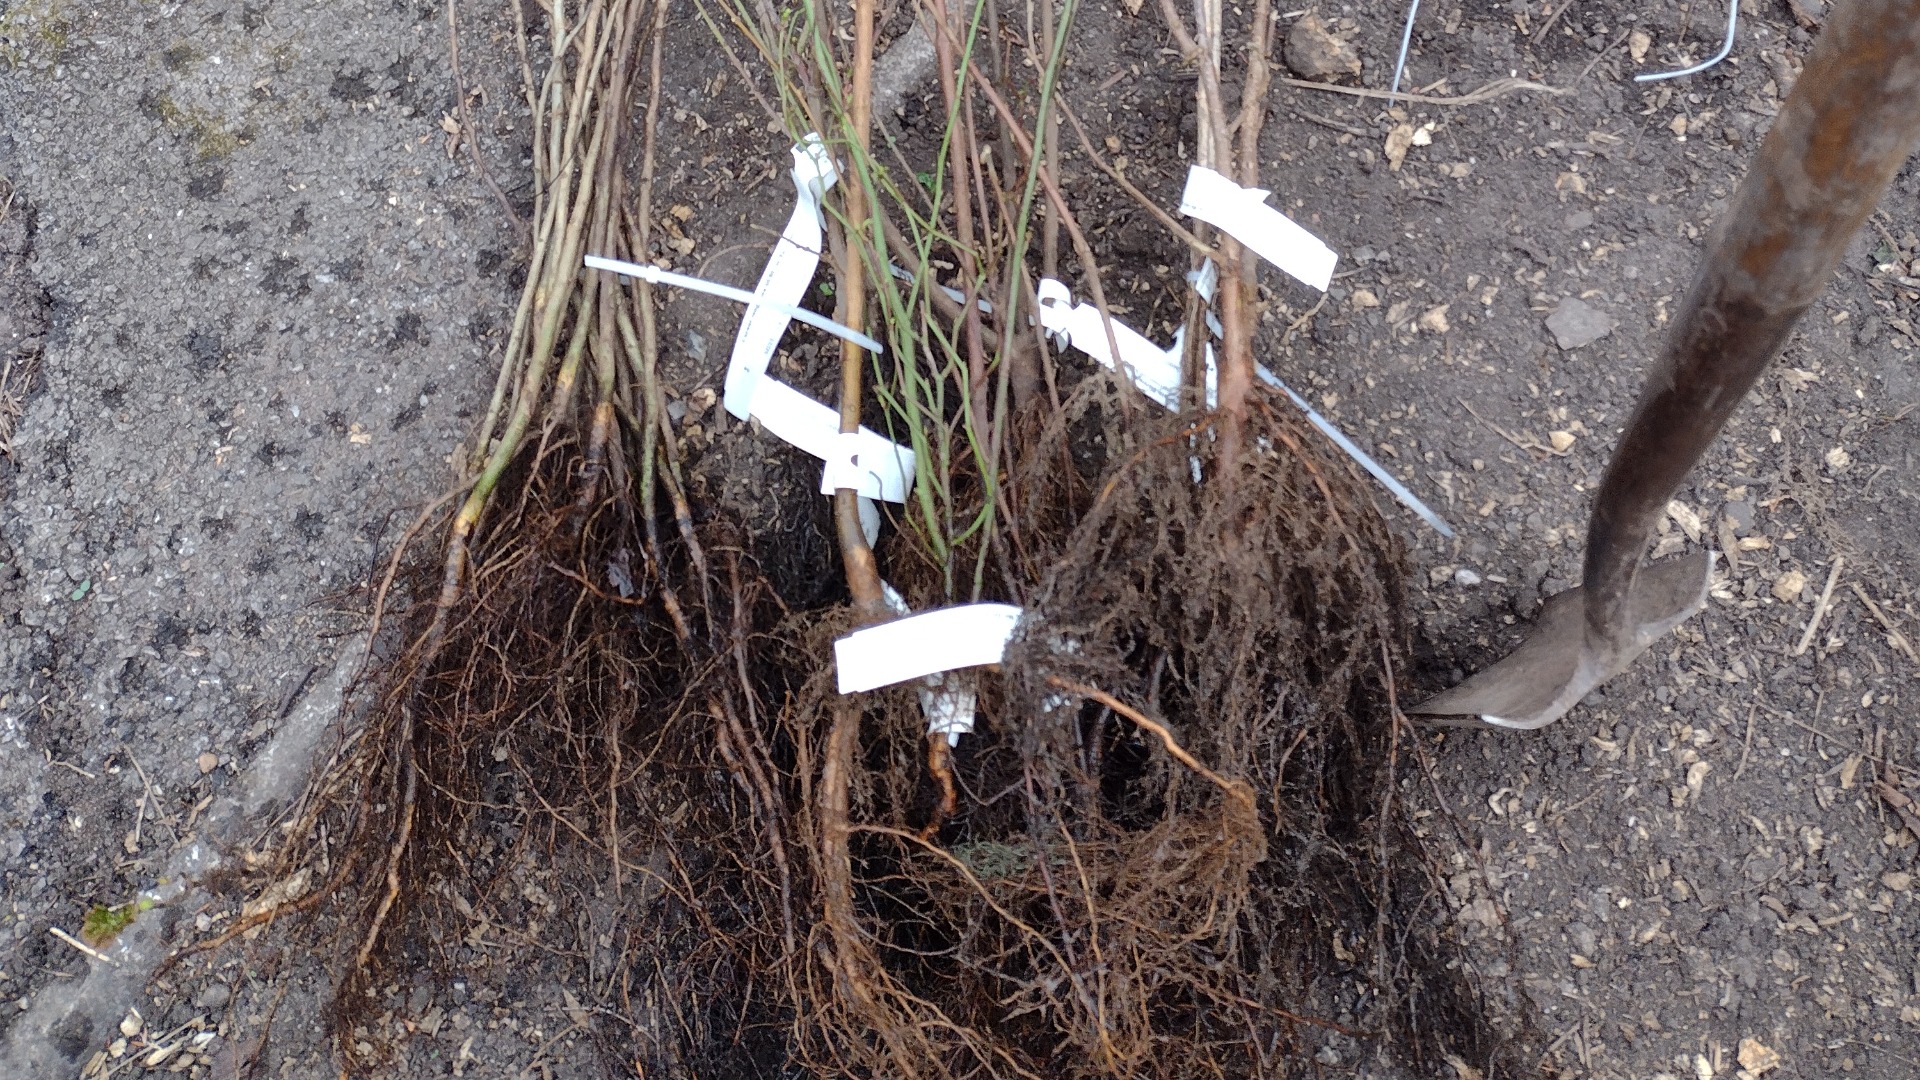
But it wasn’t always this way. Before the development of peat-based potting compost, bare root planting was much more common. Given the crucial environmental need to end peat use in horticulture, bare root planting is making a very welcome comeback.
These plants are usually field-grown on a nursery, and then lifted and sent to you over the dormant autumn and winter months. It is a hugely effective, often cheaper and also more successful way to get bought-plants into and established in your garden. Critically, you know that your garden is not destroying beautiful peatland habitat.
Trees, shrubs and hedging plants
Woody plants, whether they are a tree, shrub or cut into a hedge, provide long lived structure and huge ecological benefit in the garden. In many cases, a single species could be any of the above; a tree, cut into a shrub, or a hedge – which is arguably just a row of frequently trimmed shrubs. Hawthorn (Cretaegus monogyna) is a good example of a very versatile, and important, native plant.
Trees
Sticking with trees, we think that most gardens, no matter their size, should try to fit at least one tree in. Trees are vital to us and our garden ecosystems for so many reasons. Their vertical structure and height provides important shade and cover. Their size (obviously this is a range) means that they have the potential to feed a huge amount of wildlife with their roots, stems, leaves, flowers, fruit and of course eventually, their deadwood. They’re long lived and offer all of these resources for relatively little work, especially if you’ve spent time choosing wisely!
When the garden is dormant, you can really see its structure. This makes choosing and placing a tree slightly easier.

Choosing a tree for your garden
When you’re choosing a tree for your wildlife garden, here are a few things to consider:
- Where do you want a tree? Do you need a screen, or to provide shade somewhere?
- What size space do you have – check the height and width overhead, and pay close attention to the fully grown dimensions of the tree you choose! Will it impact on buildings and their foundations, pathways, ponds or overhead cables?
- What conditions do you have? Including: soil type and pH, moisture levels, sun and wind exposure.
- What do you want to provide wildlife? We know that native trees provide a high wildlife value. What time of the year do you want nectar and pollen? Do your birds need more berries or nuts, is there a gap during the year where your garden could provide more?
- How do you want it to look? You have to like it too! Think about colour: of bark, leaf, flower and fruit. Do you want a particular autumn colour? Will the sun shine through where it’s going?
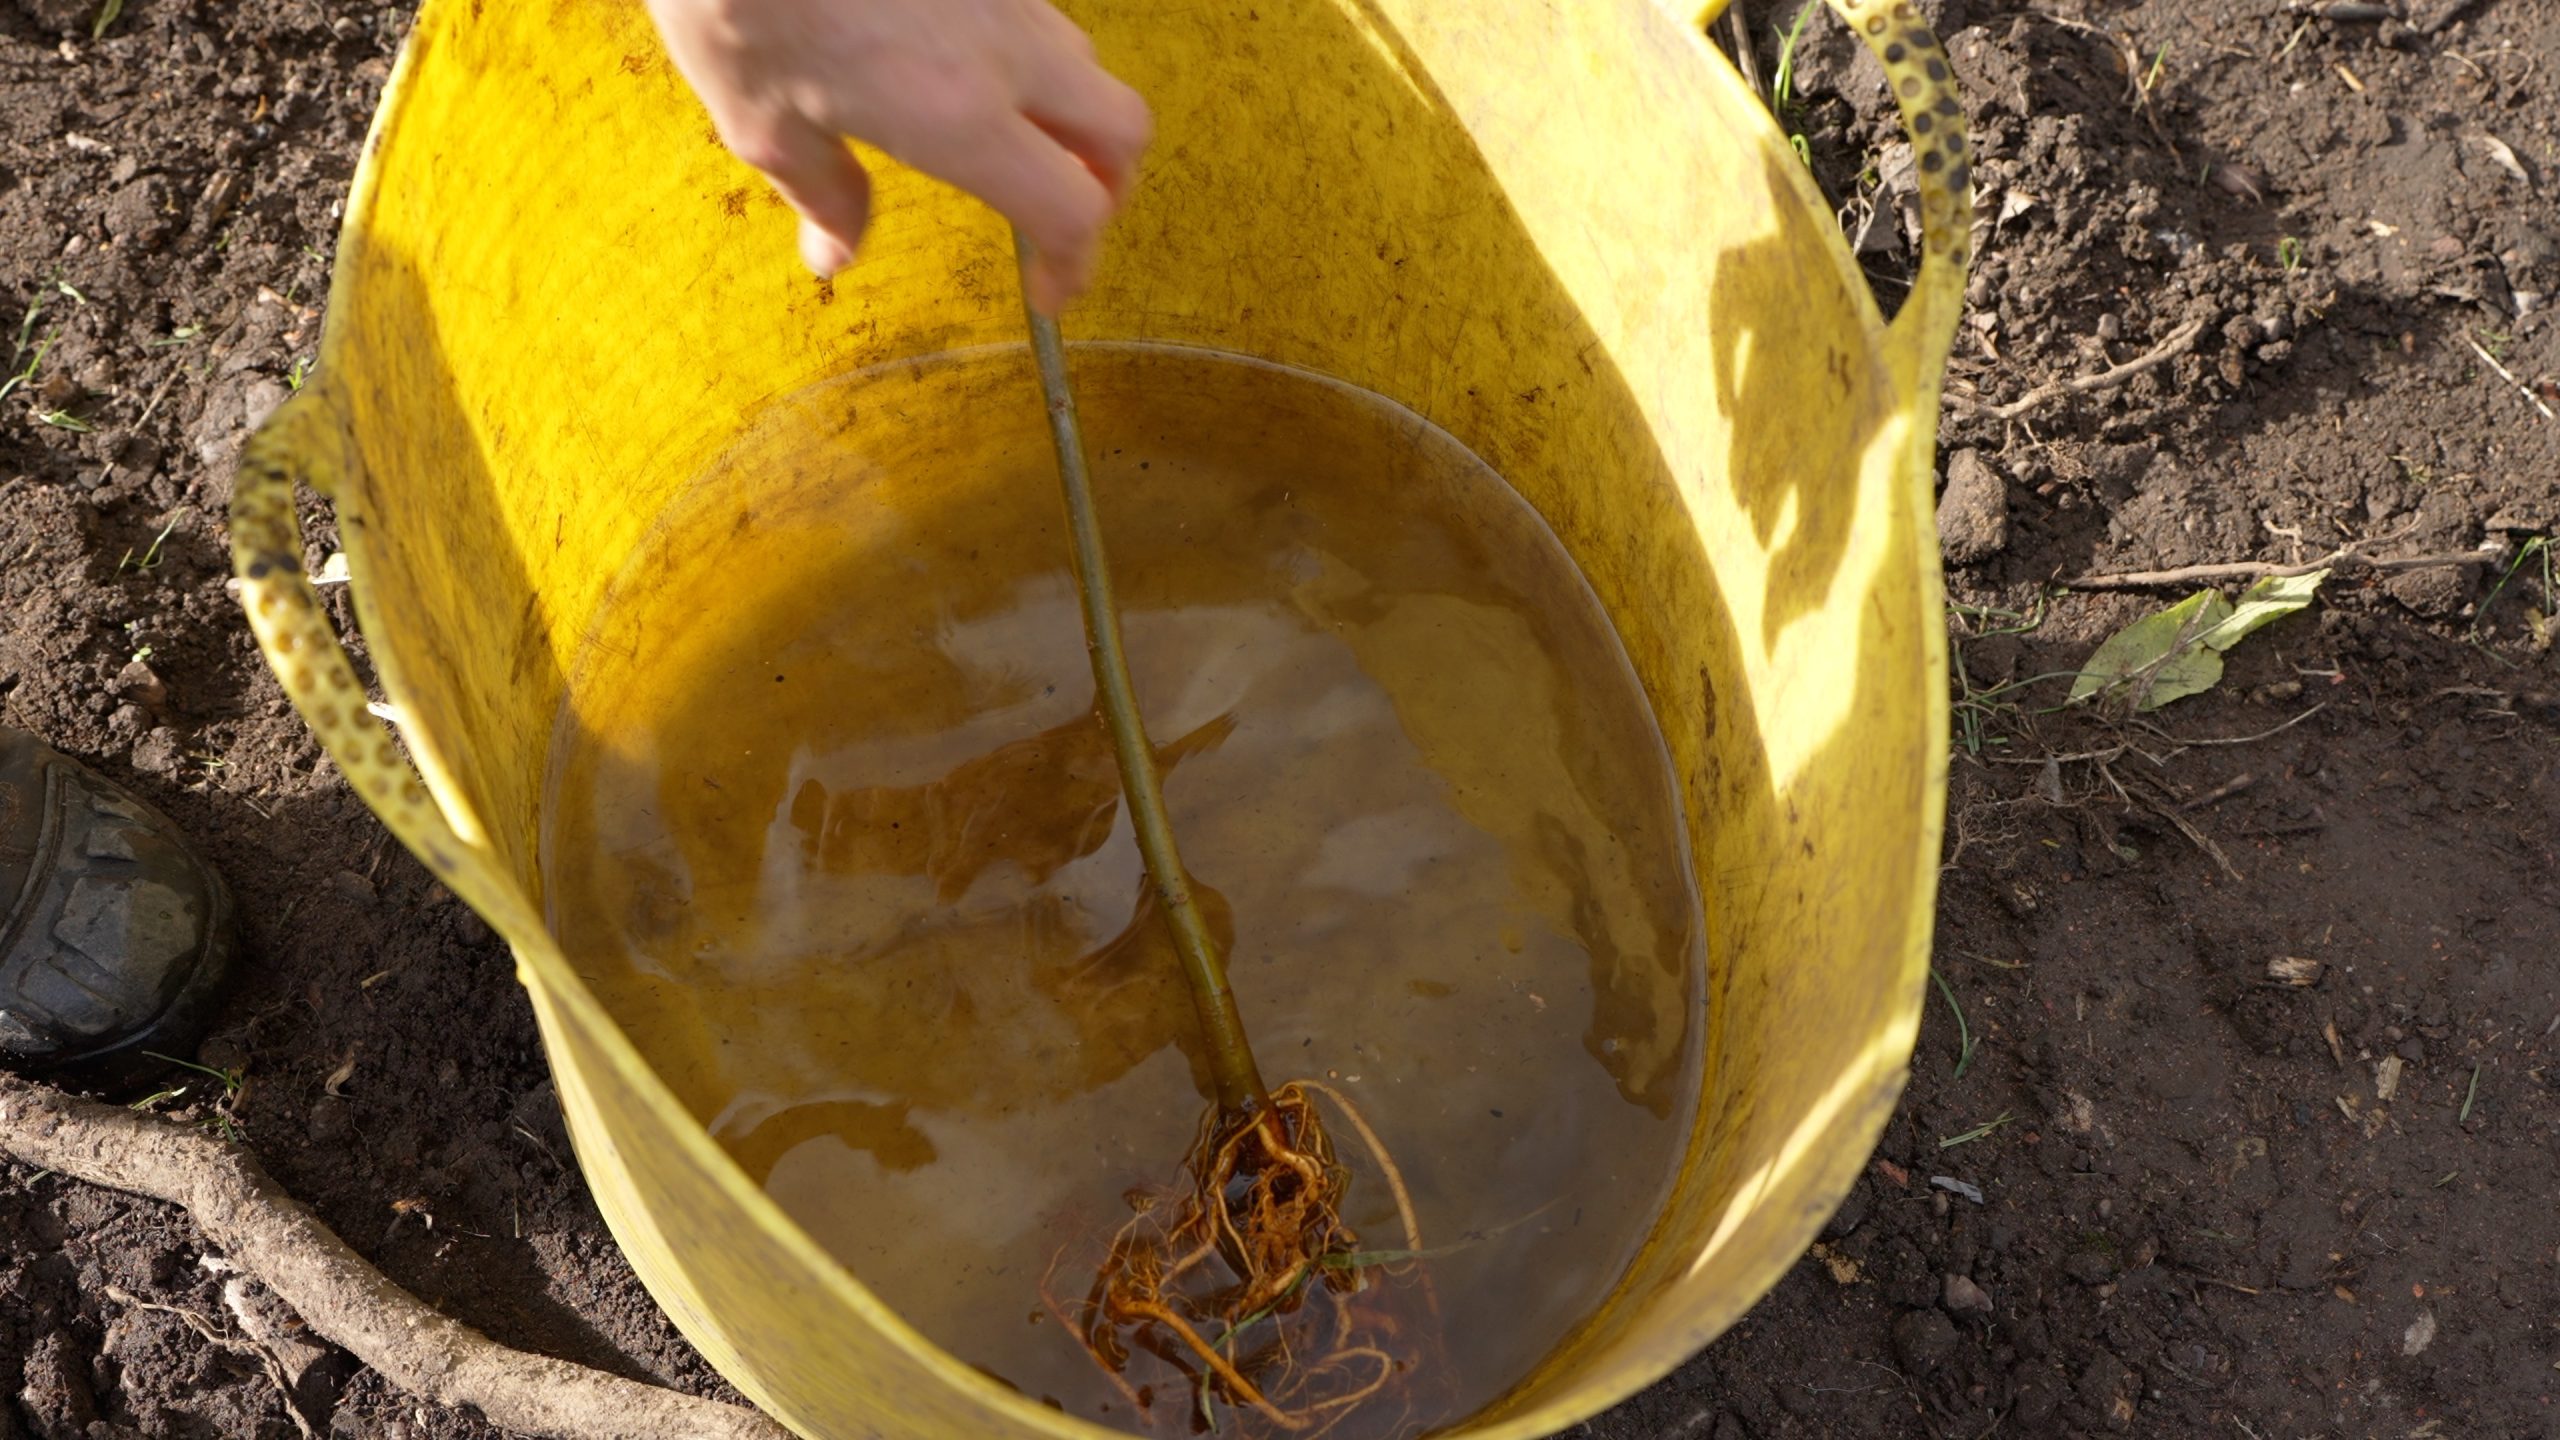
Planting a bare root tree couldn’t be easier. It just has to happen on a frost free day. When you receive your tree, unbox it and always soak the roots for 30mins or so. If you’re unable to plant it straight away, you can ‘heel’ it in; dig a hole, place the tree in it, ideally leaning it on something, backfill the hole to cover the roots and water really well. This stops the roots from drying out until you’re ready to plant.
How to plant a bare root plant
When you’re ready, simply follow the following steps:
- Soak the rootball of the tree; ideally for at least half an hour
2. Dig a square hole to the depth of the rootball. Use your spade to estimate the depth you need to go to. Also ensure that the hole is wide enough

3. Keep adjusting the depth until the tree sits in the space and the surrounding soil comes to where the roots start to appear on the stem

4. Ensuring that roots are nicely spread, backfill the hole, always ensuring that the tree hasn’t sunk too deep. Don’t be afraid to adjust at this stage!

5. Water thoroughly.

6. Mulch! Ideally with composted bark or woodchip, but any organic matter will be helpful.

Bare root perennials
As well as trees, you can also get herbaceous perennials bare root, with all the same associated environmental and financial benefits.
A herbaceous perennial is a plant that lives for more than two years, has soft and flexible non-woody stems, and typically dies back to ground level (some retain some greenery above ground) each autumn before regrowing from its underground roots or storage structures every spring.
With these plants, the root system, or specialized underground structures like rhizomes, bulbs, tubers, or corms, stays alive beneath the soil during winter dormancy, so when you receive a bare root perennial it could look like just a mass of roots. Don’t panic at this, a strong root system is exactly what you need to have a strong and healthy plant!
Plant in the same way as you would the woody plant; soak the roots beforehand, and ensure they are spaced out in the hole, and that the plant is left at the correct depth. It’s also wise to mark the plant with a stick, so that you don’t forget where it is before leaves start to regrow!
Check on all your bare root plants after any frost as they can be heaved out of the soil with the freezing water.

Making new plants
Making new plants out of existing ones not only saves money, but is better for the environment too. There are two ways you can do this in November:
Splitting herbaceous perennials
You can simply divide your existing herbaceous perennials. Every 3-5years, dig up your plant, and using forks back to back, of a sharp knife, or spade, split it into sections, making sure that each new clump has a healthy section of root. Plant them back in the ground. It’s as easy as that!

Hardwood cuttings
Some woody shrubs can be propagated via hardwood cuttings. Put simply, this involves taking a suitable piece of stem and putting it (the right way up!) into compost. This can produce a whole new plant! Some plants take more easily than others, so maybe do your research, but of course we say to just give it a go, following these easy steps:

- Choose vigorous and healthy stems, about a pencil thickness, that have grown this year
- Find a 15-30cm length along the stem, ignoring the soft tip growth
- Cut a straight cut beneath the lower bud or pair of buds, and a diagonal cut above the top bud/s.
- Get a deep pot and fill it with 50:50 grit:compost.
- Insert the cutting so that ⅔ is submerged, with the diagonal cut at the top
- Water, then leave somewhere sheltered and frost free over winter. Successful cuttings will produce leaves in the following year; keep them watered and by autumn they will be strong enough to pot on.
As there is very little cost associated with this method, take multiple cuttings of plants, so that you increase your chance of success!

Weeding in winter
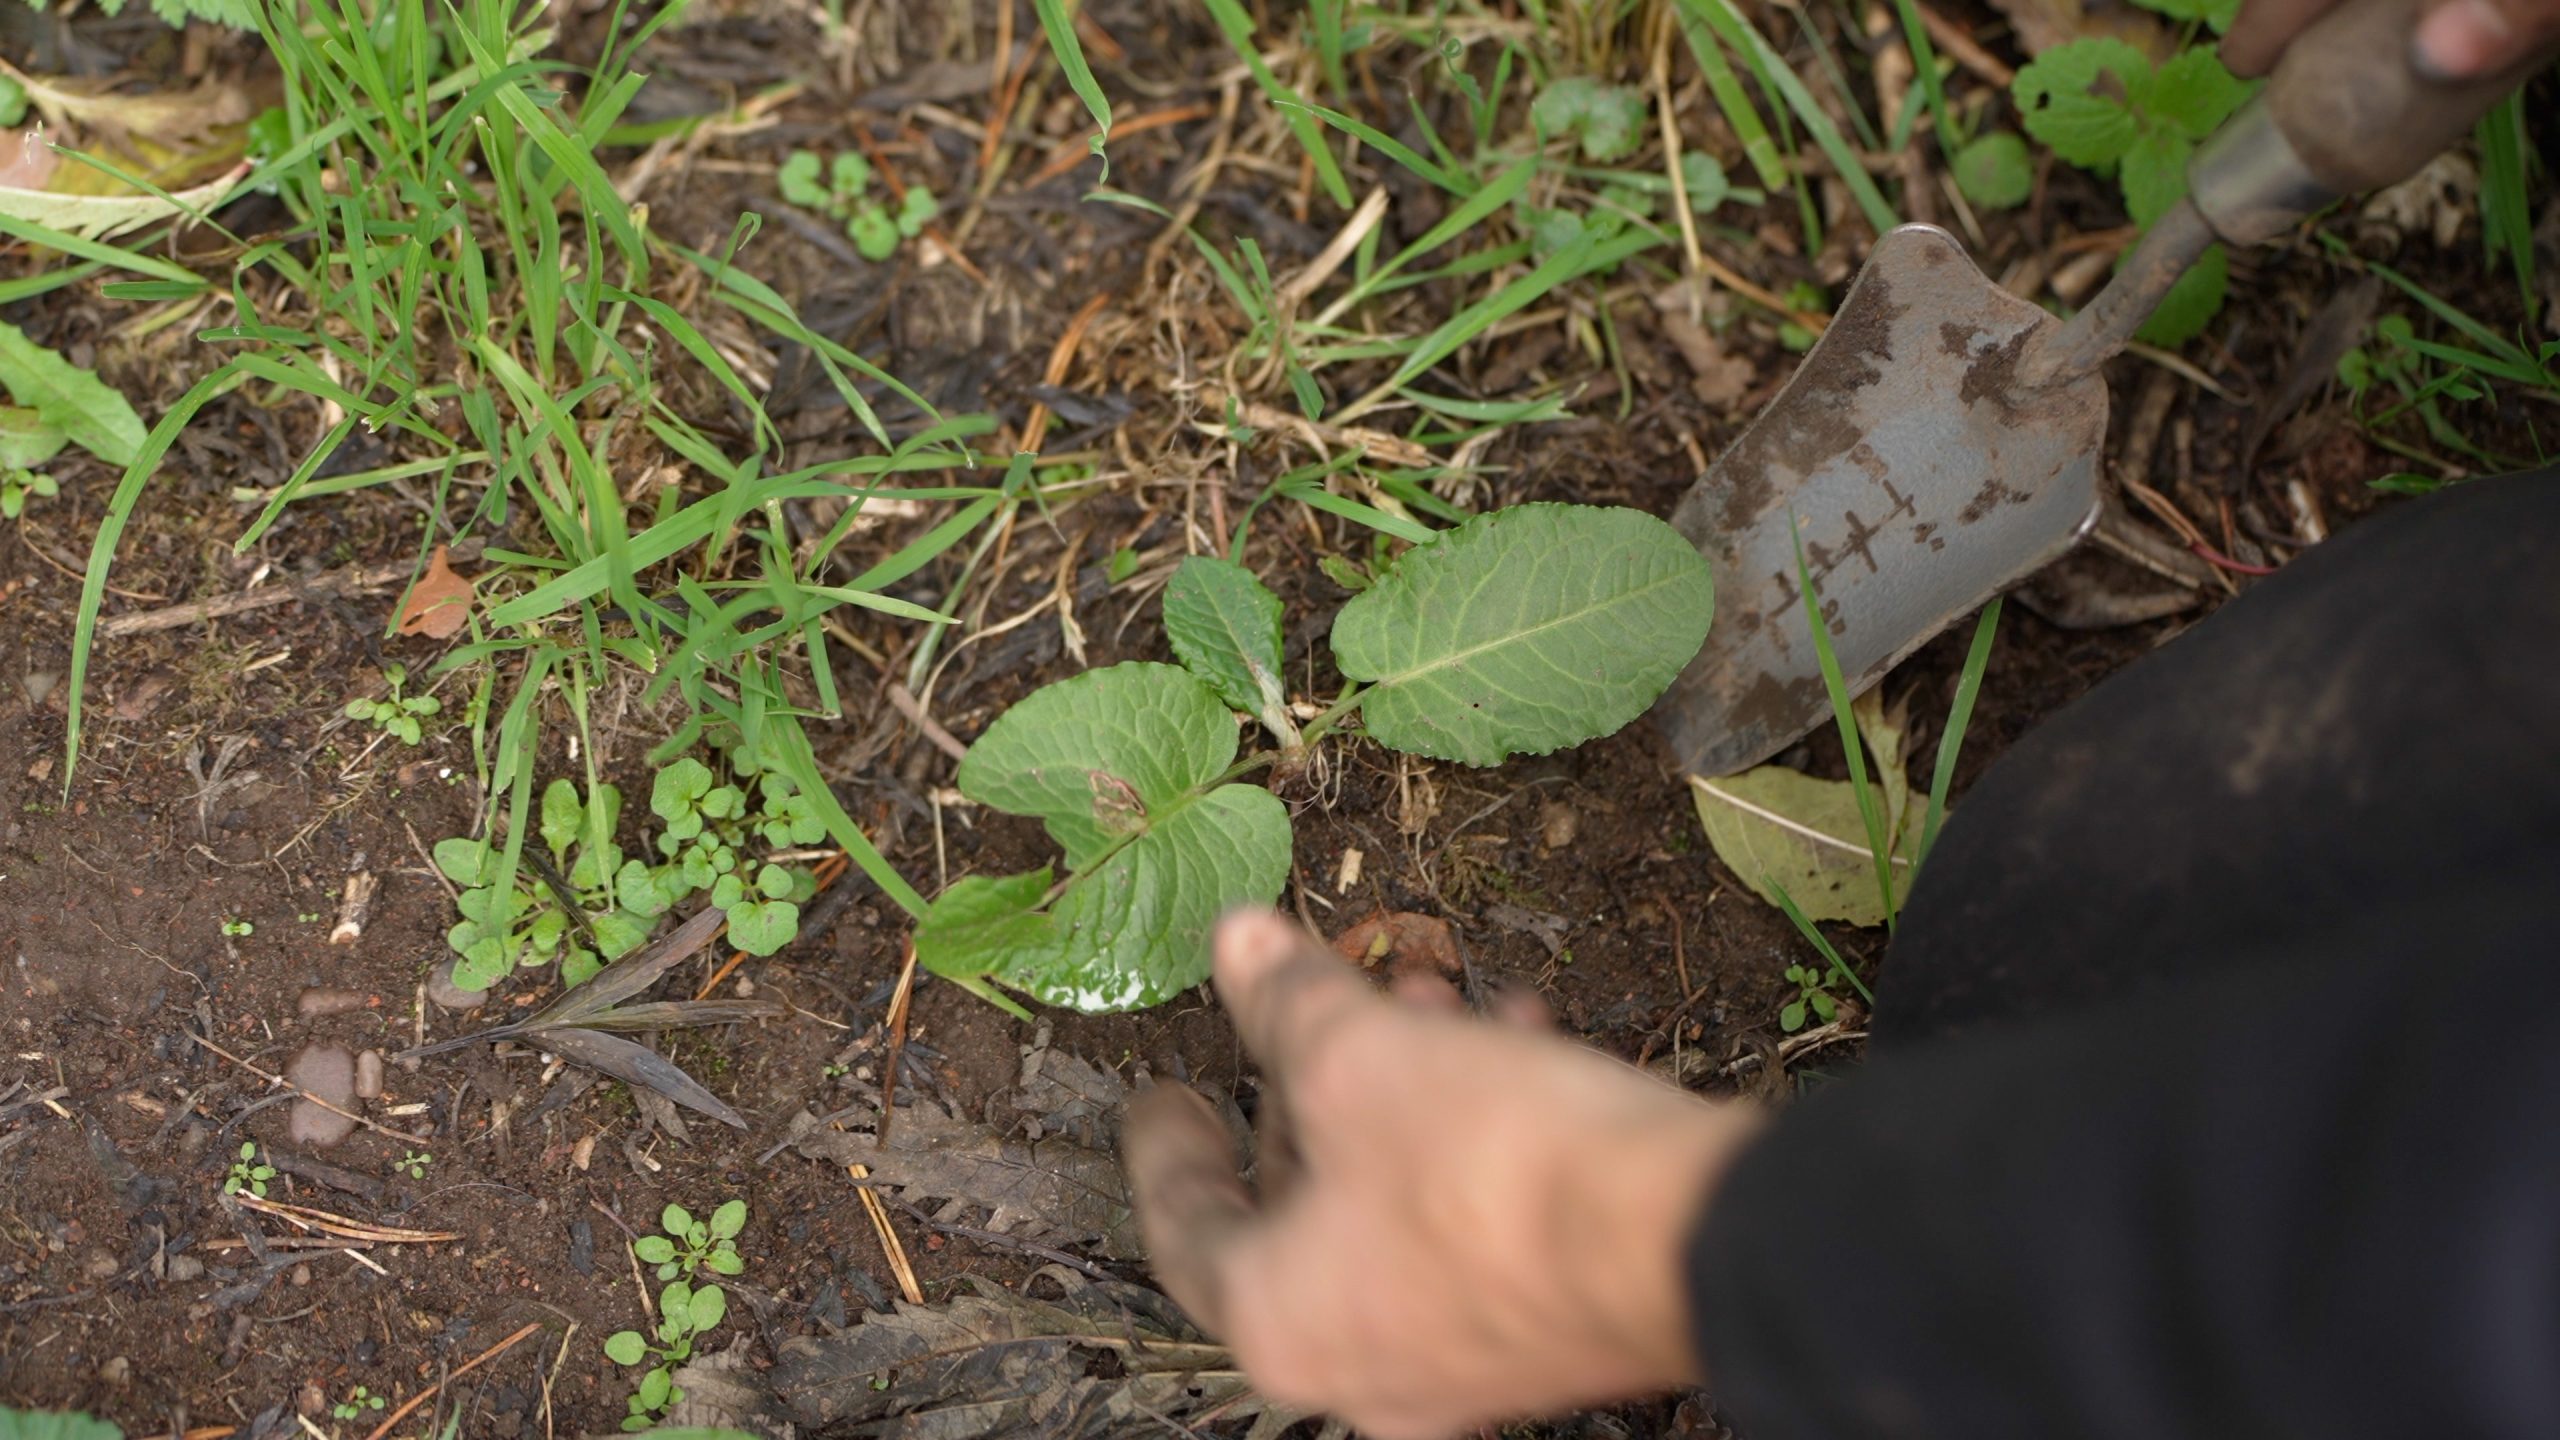
We haven’t mentioned weeding for a couple of months, but if it’s been mild and moist, it’s very likely that you’ll see an explosion of growth over autumn. Now’s the time (ok, it’s always the time!) to get on top of what you don’t want in your garden, keeping the things you do. Always learn what your seedlings are, what they look like and how big they get when grown, and what wildlife they might help before removing anything! By selectively weeding, you can invite some real gems into your garden, and most of the time they’ll be wonderful native plants, catering for a range of creatures.
If you want to keep something but it’s turned up in the wrong place, try moving it now, planting it as you would a bare root perennial.
Winter wildlife checklist
Here are some things that are important to keep doing throughout winter, which are worth mentioning again and again!
- Keep ensuring that wildlife has clean, fresh, unfrozen water available.
- Follow the current guidance on supplementary bird food, whilst always keeping your feeders clean
- Help hedgehogs by putting out wet, meat-based cat or dog food, or kitten biscuits
- Keep observing what food your garden is providing with seedheads and fruit, and think about what you could add
Rainwater harvesting
During winter, while your plants are mostly sleeping, you have lots more opportunity to do more DIY style garden jobs. Rainwater harvesting is becoming ever more critical for helping your plants and ponds survive the hot summer, while conserving vital tap water.
Can you put in a new water butt or even better, butts in your garden? You simply can’t collect too much water; do you like big butts (don’t lie)…

Thinking ahead
In this part of the guide we gently signpost you to think about what might be needed over the next few months. A lot of gardening guides focus on the here and now, but it’s really good to remember that it’s a long, gentle game.

Bare root plants
If you haven’t yet ordered your bare root plants then don’t worry – you’ve got the whole of winter to order and plant them. As long as the ground isn’t frozen, you’re good to go.
Pond planning
With rainwater harvesting in mind, in December we’ll be talking you through building your very own pond, so you’ll need to start collecting for that alone! At this time of the year there is always the risk of frost. If you know where you want to site a pond but don’t have time to get the spade out yet, cover the area with a tarp to stop it freezing.
Deadwood
If you’ve started pruning, keep your woody material for future fun wildlife projects!
Finally, keep enjoying your garden!
Written by Ellie Mitchell